Which steps do I have to go?
From Idea to Object
To be able to use 3D printing that can support your class you might first will ask yourself:
why should I?
After successfully being convinced that it can be a good addition to your personal teaching style, your next question could be:
- Ok, but are those machines expensive?
- What would I even print?
- Where would I get a model from?
- How do I "ask" the machine to create it?
- And what if someone gets the measles?
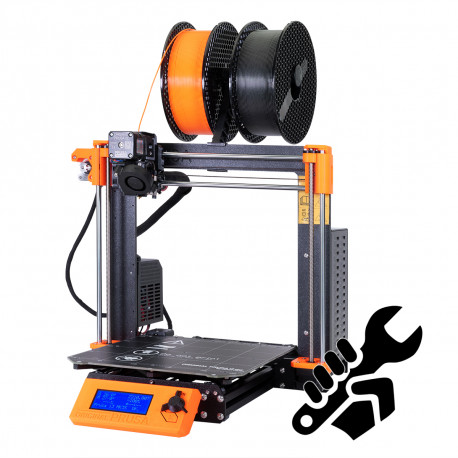
Buying a machine
You can buy machines from a variety of providers.
Please make sure you know exactly which machine awaits you. They come in a variety of stages of assembly and price and there are differences in provided languages and availability.
If you do not have the possibility to order one because you are in a country that has difficulties importing, this can get tricky. For others, you might have a local store that ships for reasonable prices.
Please read comments and descriptions carefully: if you have to assemble a machine you do learn a lot about it but if you do not have the time for that, you might spend a bit more and get a pre-assembled machine.
You need a good idea and a good model
The hardest step for many teachers is to find an appropriate idea.
Many websites with a ton of examples can help you with inspiration but careful, it can be like going down a rabbit hole. Select a simple one first.
Important: there are objects that are really hard to print. Select something of the size of your palm first and see whether your object can be created. Careful with very pointy things and always keep in mind that we now go to the "realm of physics" where weight does play a role!
Chop chop, slice and dice!
Now but how does the machine know hot to create this object?
You will have to create a file in machine-motor-language for your type of printer.
Careful! This is a file done specifically for your type of printer and might not work on others!
This is done by a so called slicer software. It usually comes with your printer or can be downloaded at your printers webpage.
The slicer cuts - as the name suggests - your object into slices of a height you can set. Lower height, more details. Higher height: faster print.
For those wondering why:
imagine you would go to the grocery store because you have to buy 2 liters of milk.
If you go and buy a liter, go back to the fridge and put it there and drive to the grocery store again to buy a liter you are slower than if you would buy the two liters at once.
Anyway. After slicing, you create a file in so called G-CODE which contains information for your printer like: this and that heat, this and that movement, ...
Measles
Ok now with this specific problem you might want to go to the doctors.
However, other problems can arise during printing.
Most importantly: please check first whether material flow is working. If you print for 2 hours and the materials is no longer provided after 10 minutes you will bite...something.
This already leads to the second point: check your print every now and then, do not leave it unattended for a long time (eg. go for lunch or something). If something is really going totally sideways you might ruin your machine.
And if you are a newbie to this technology, staying for the first 2 layers can be advised. Many things like material flow or whether the object is sticking to the printbed can be observed.