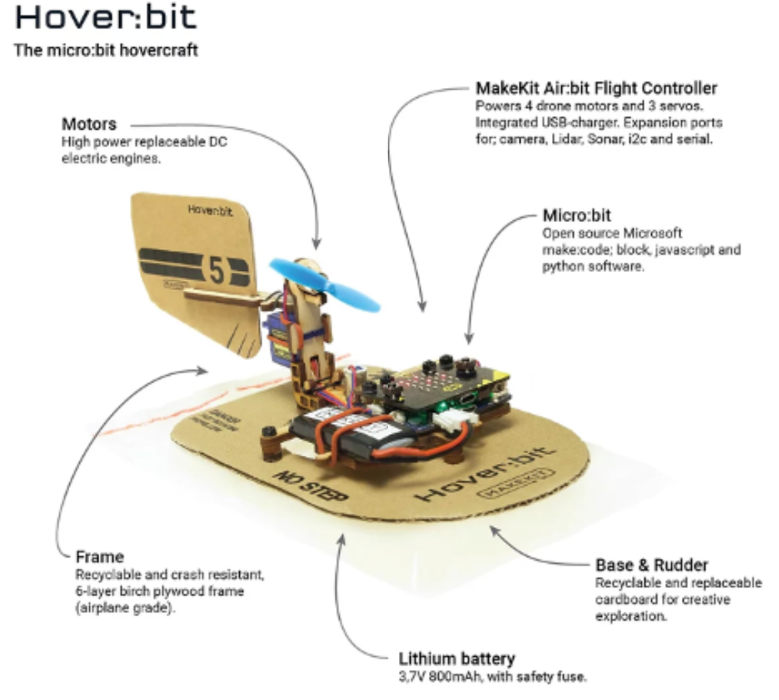
Build - Code - Drift with hover:bit
Designing a swift, floating hovercraft using recycled cardboard and natural plywood. When ready, the hover:bit will swiftly drift away, only limited by your piloting skills.
By using micro:bit controllers in this hands-on activity learners can develop coding skills and experience true cross curriculum learning.
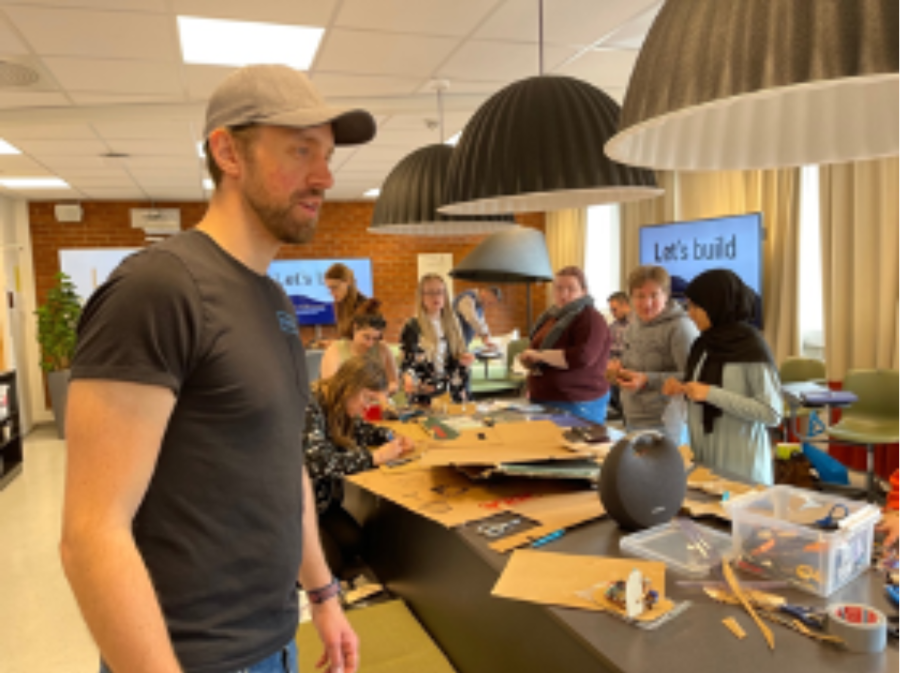
Abstract: In this training module we were inspired by MakeKit in Oslo (https://www.makekit.no/en) and asked them to join us for this activity. Our aim was to let the participants take part into a true cross curriculum experience. The pocket-sized computer BBC micro:bit - https://microbit.org/ has for several years made coding available for teachers from primary and secondary ages. Coding can indeed change the world, turning the classroom into a problem-solving activity. But we wanted to add the A into STE(A)M Learning. Designing your own hovercraft by using a template with graphics and then design it the way you want gives room for more exploration and creativity.
Keywords: Hover:bit, micro:bit, block coding, cross curriculum activity, building a hovercraft, physical computing, MakeKit
The resource list:
1. Each hovercraft needs to have two micro:bits, one for the hovercraft/boat and one to control it. Learn how to use the micro:bit from the website: https://microbit.org/
2. All instructions, electronic parts, tools and other resources to conduct the activity can be found on the MakeKit website: https://www.makekit.no/en/docs/#hoverdocs
3. You can also access video tutorials for the assignment and how to build the hovercraft:
https://www.youtube.com/playlist?list=PLpKO0Lk1dVfpF5N9z4OJHadmcOnj_z56F
4. Make sure you have a suitable makerspace or large classroom with space to test the hoverboard
The background and importance of the topic
Coding can change the world! In our world today we need to find new technological solutions to all small and large challenges we face. The BBC micro:bit is a tiny pocket-sized, code-able physical computing device that can be programmed into all sorts of activities, making it suitable for both children in primary ages (7-11) and secondary ages (11-14). It has a build-in display, buttons, motion detection, temperature and light-sensing, and it supports Bluetooth Low Energy (BLE) wireless communications. By connecting it to a computer, laptop or a tablet it can be programmed to perform several different operations. It was first introduced to 11–12-year-old students in the UK in 2016.
Inputs and outputs are an important part of a computer system and the micro:bit consists of several inputs and outputs. The micro:bit have for instance LEDs, temperature sensor, light sensor, compass, sound, radio and accelerometer. These sensors make it possible to interact we it and connect it to other devices. The micro:bit can be programmed by block-based language, JavaScript, C and MicroPython. With the latest change of curriculums, for instance in Norway (2020) a high proportion of teachers are responsible for computing in their school. The benefits of physical computing in the classroom and computing environments in school can have a positive effect on motivation for students, including those from diverse backgrounds, because the learning experience and the outcome are visible, not virtual. The tangibility of physical devices also helps students and leads to cooperation in groups and unleash creativity (Sentence et.al, 2017).
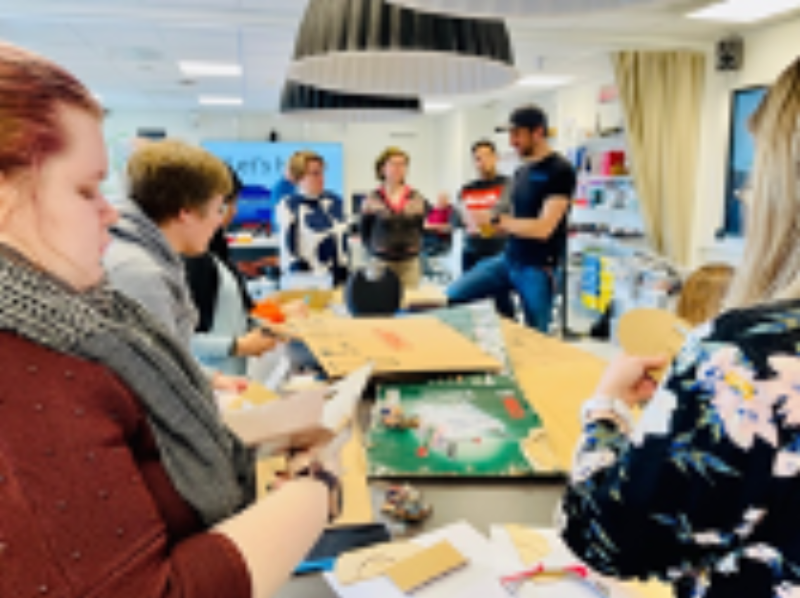
The activity description
The assignment and training module is titled “Build and design a hovercraft - make it swiftly drift away”. The purpose of this activity is to let the students engage into an activity where they can take part into coding and programming as a physical and hands-on experience. The physical element where they first create and design a hovercraft gives a more positive perspective to computing and coding than more traditional screen-based learning. The physical computing can make the students focus on ideas, rather than restrictions. Research also mentions that girls are more engaged when exposed to physical computing (Sentence at.el 2017).
MakeKit have developed several useful resources to be used in this assignment, also giving a further description to this activity.
The process and step-by-step description on how to code the hover:bit can be found here:https://www.makekit.no/wp-content/uploads/2022/07/How-to-code-and-run-hover-bit-ENG.pdf
A hover:bit template with graphics can be found here:https://www.makekit.no/wp-content/uploads/2022/07/A4-PrintCut-Template-base-plate-and-2x-rudder.pdf
The activity solution
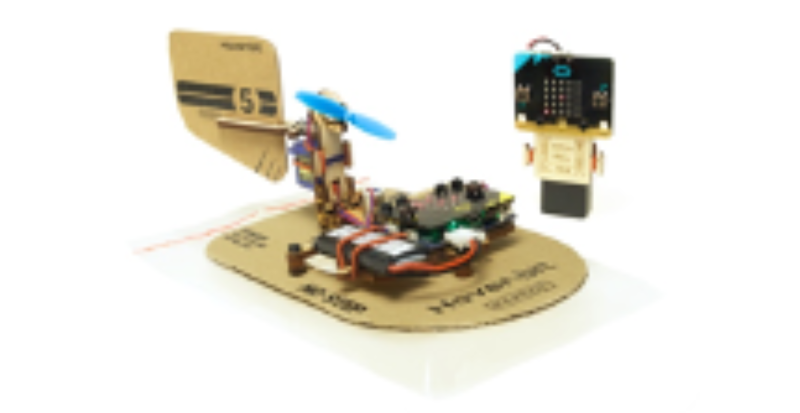
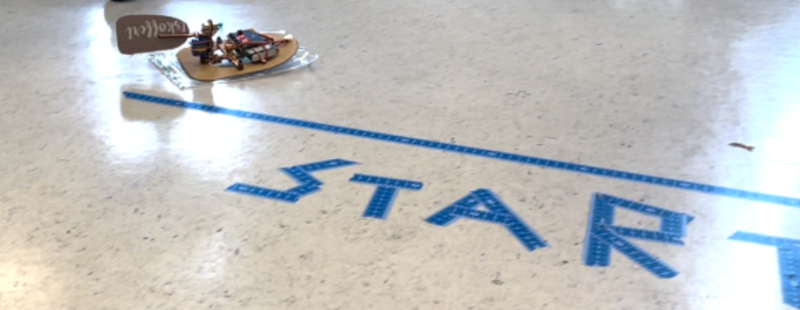
The aim of this activity is to build and design the hovercraft in such a way that it can move along the floor or a dry clean surface. It is essential to create a bag that can be filled with air and make it controllable using the orientation sensor on the micro:bit. There is one micro:bit on the hovercraft and another made as a hand controller steering and drifting the hover:bit. Check the description on how to code the hover:bit for more information.Which hovercraft will win? The activity should be developed further by organizing the classroom and the learners into different groups where they can work together. It could also be motivating to set up a competition where the hovercrafts have a starting point and a finish line. The hovercrafts can compete and run at the same time or be individually tested and monitored by timing each one.
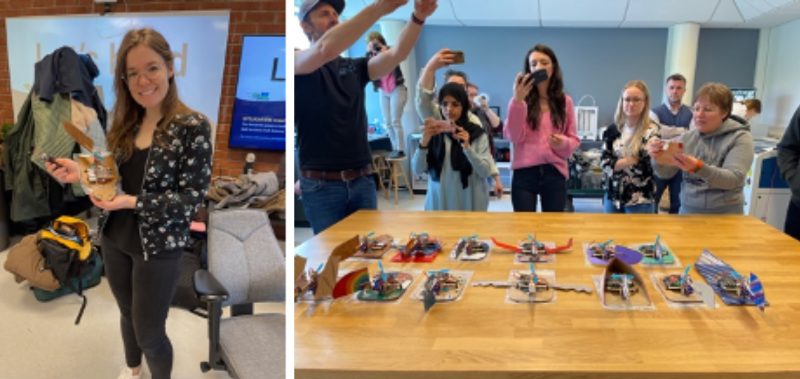

Enhancing the Activity
Which hovercraft will win? The activity should be developed further by organizing the classroom and the learners into different groups where they can work together. It could also be motivating to set up a competition where the hovercrafts have a starting point and a finish line. The hovercrafts can compete and run at the same time or be individually tested and monitored by timing each one.
The knowledge test
What is a micro:bit?
How can the hovercraft assignment motivate especially girls?
What is an essential part in the building process of the hovercraft in this assignment?
For special needs’ learners
To simplify the learning process it is possible to give the learners more time and follow the step-by-step guidelines together with the teacher. The learners could also be organized with different responsibilities and more limited operations. Some learners can build and design the hovercraft while others work on the programming more specifically. Then they can work together when testing and steering it. It is also possible for the teacher to pre-arrange most part of the coding with the micro:bit controllers.
Alternative activity
Alternative activities can be found at the micro:bit website:https://microbit.org/projects/
or the WonderKit from MakeKit:https://www.makekit.no/en/blog/
Conducting a Workshop
This STEAM learning activity workshop is addressed to primary school teachers who wants to create a physical workshop adding computing skills and coding to it.
This STEAM learning activity workshop is addressed to primary school teachers who want to create a physical workshop adding computing skills and coding to it.
This activity could be designed in five phases:
1. Introducing the hovercraft as an item and the functionality of it as a boat. Viewing pictures, movie clips and describing different types of hovercrafts – Air Cushion Vehicle (ACV), Sidewall Hovercraft, Ground Effect Machine (GEM) and Hovertrain. Looking at sketches and drawings of hovercrafts (20-30 minutes).
2. Starting up with coding as a concept and exploring micro:bit with introductory assignments from the website - https://microbit.org/projects/ (45-60 minutes).
3. Setting up the activity/workshop and describing. Working with the design and following the A4 Hover:bit template with graphics - https://www.makekit.no/wp-content/uploads/2022/07/A4-PrintCut-Template-base-plate-and-2x-rudder.pdf. The design can be further developed by adding paint and colours (45-60 minutes).
4. Follow the step-by-step How-to-code-and-run-hover-bit template - https://www.makekit.no/wp-content/uploads/2022/07/How-to-build-hover-bit-V2-ENG.pdf Make the hovercraft ready for being operated and controlled (30-45 minutes).
5. Turning on the transmitter and hovercraft. Testing and controlling (10-20 minutes).
References
Gibson & Bradley (2017). A study Northern Ireland Key Stage 2 pupils´perceptions of using the BBC Micro:bit in STEM education
https://ojs.cumbria.ac.uk/index.php/step/article/view/374
Sentance et.al (2017). Creating cool stuff – Pupils´experience of the BBC micro:bit
https://dl.acm.org/doi/pdf/10.1145/3017680.3017749