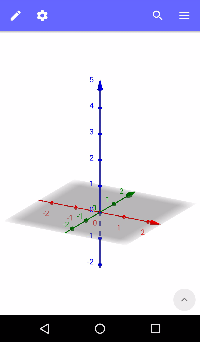
The 3D Graphics View
The 3D representation of all created objects (e.g. points, graphs) is displayed in the  3D Graphics View.
3D Graphics View.Creating Objects in the 3D Graphics View
You may use the 3D Graphics Tools provided in the Toolbar in order to create new objects in the 3D Graphics View.
- Open the Toolbar by tapping the editing icon
 in the blue Header Bar.
 - Select the Tool you would like to use. Hint: You may scroll horizontally in the Toolbar in order to access more Tools.
- Read the appearing Tooltip in order to find out how to use the selected Tool.
- Apply the selected Tool to existing objects or to an empty area of the 3D Graphics View. Note: Necessary auxiliary objects may be created along the way.

Hiding and Deleting Objects
 Show / Hide Objects
You may hide auxiliary objects in the 3D Graphics View by using the
Show / Hide Objects
You may hide auxiliary objects in the 3D Graphics View by using the  Tool Show / Hide Object. Activate the Tool and select all objects that should be hidden. Then, switch to any other Tool in order to apply your changes.
 Delete Object
Use the
Delete Object
Use the  Delete Tool in order to delete unnecessary objects.
 Undo
Delete objects in reverse order by using the
Undo
Delete objects in reverse order by using the  Undo button in the Toolbar.
Customizing the 3D Graphics View
It is possible to customize the 3D Graphics View using the  Properties button in the blue Header bar.
Note: Please make sure that no object is selected by tapping the background of the 3D Graphics View prior to opening the Properties.
Properties button in the blue Header bar.
Note: Please make sure that no object is selected by tapping the background of the 3D Graphics View prior to opening the Properties.
3D Graphics View using the Properties button in the blue Header bar.
Note: Please make sure that no object is selected by tapping the background of the 3D Graphics View prior to opening the Properties.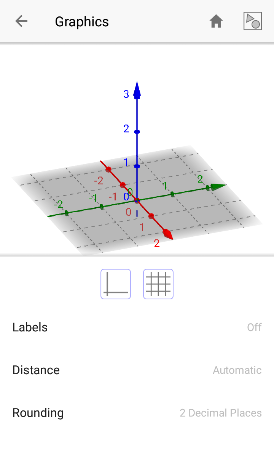
Use the provided buttons in order to customize the 3D Graphics View:
3D Graphics View in order to open its Properties.
3D Graphics View:
 adjusts the zoom factor so that all objects can be shown in the 3D Graphics View
 brings you back to Default View
 shows or hides the coordinate axes
  shows or hides the xOy plane grid
3D Graphics View in order to open its Properties.