Copy of Tools used in this Chapter
In this chapter, you are going to work with the following tools. Please make sure you know how to use them and try them out below prior to working on the following tasks.
Hints:
- You may activate a Tool by clicking on the button showing the corresponding icon.
- GeoGebra's Tools are organized in Toolboxes, containing similar Tools, or Tools that generate the same type of new object.
- You can open a Toolbox by clicking on a Tool button and selecting a Tool from the appearing list.
- When you select a Tool, a Tooltip appears explaining how to use this Tool.
- If you want to learn more about a Tool, click on the Tooltip. This opens a web page providing more detailed information for the selected Tool.
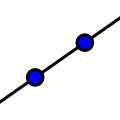 | Line
Click twice in the  Graphics View or on two already existing points in order to create a line through these points. Graphics View or on two already existing points in order to create a line through these points. |
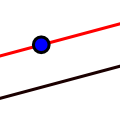 | Parallel Line Click on an already existing line and a point in order to create a parallel line through this point. |
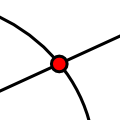 | Intersect Click on the intersection point of two objects to get this one intersection point. Successively click on both objects to get all intersection points. |
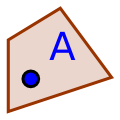
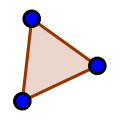 | Polygon
Click in the Graphics View or on already existing points in order to create the vertices of a polygon. Connect the last and first vertex to close the polygon!
Note: Always connect vertices counterclockwise! |
 | Move Drag a free object to change its position. |
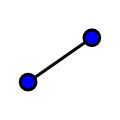 | Segment
Click twice in the Graphics View or select two already existing points in order to create a segment between them. |
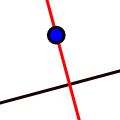 | Perpendicular Line Click on an already existing line and a point in order to create a perpendicular line through this point. |
 | Point on Object Click on an already existing object in order to create a point on this object. |
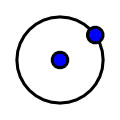 | Circle with Center through Point Your first click creates the center, while your second click determines the radius of the circle. |
 | Show / Hide Object Highlight all objects that should be hidden, then switch to another tool in order to apply the visibility changes! |
 | Angle Click on the points in counterclockwise direction! GeoGebra always creates angles with mathematically positive orientation. |