Draw a Picture with GeoGebra
How to draw a picture with GeoGebra
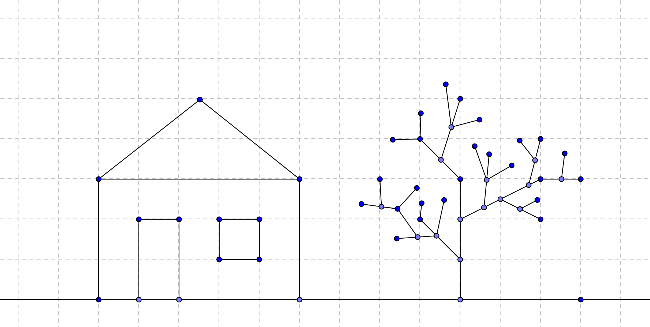
Use the following selection of Graphics Tools in order to draw a picture in the  Graphics View (e.g. square, rectangle, house, tree,…).
Graphics View (e.g. square, rectangle, house, tree,…).
 | Point tool Click on the Graphics View or on an already existing object to create a new point. |  | Undo button Undo a construction step by step. | |
 | Move tool Drag a free object to change its position or move the entire Graphics View by dragging the background. |  | Redo button Redo a construction step by step. | |
 | Line tool Click on the Graphics View twice or on two already existing points. |  | Move Graphics View tool Click and drag the Graphics View to adjust the visible part. | |
 | Segment tool Click on the Graphics View twice or on two already existing points. |  | Zoom In tool Click on the Graphics View to zoom in. | |
 | Delete tool Click on an object to delete it. |  | Zoom Out tool Click on the Graphics View to zoom out. |
Try it yourself...
What to practice
- How to select an already existing object. Hint: When the pointer hovers above an object it highlights and the pointer changes its shape from a cross to an arrow. Clicking selects the corresponding object.
- How to create a point that lies on an object.
Hint: The point is displayed in a light blue color. Always check if the point really lies on the object by dragging it with the mouse (
 Move tool).
 - How to correct mistakes step-by-step using the
 Undo and
  Redo buttons.
 Segment can be applied to two already existing points or to the empty Graphics View. By clicking on the Graphics View the corresponding points are created and a segment is drawn in between them.